

Creating Groups in Office 365 is a great way to manage people with similar tasks or users within the same team or department. Groups are an essential component of the Office 365 ecosystem. In these next steps, we will create an Office 365 Group through the Admin Center and PowerShell.
REQUIREMENTS
To create a Group in the Admin Center you must be either a Global Administrator or a User Administrator.
STEPS: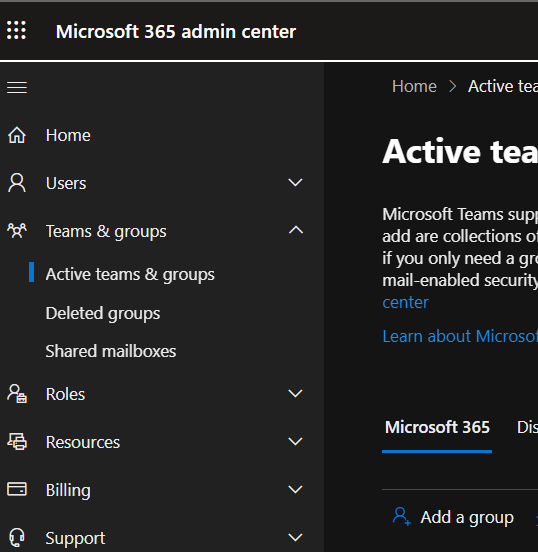
After creating your group, you can assign users to the group as well as add new owners to the group. You can do this by following the steps below:
STEPS: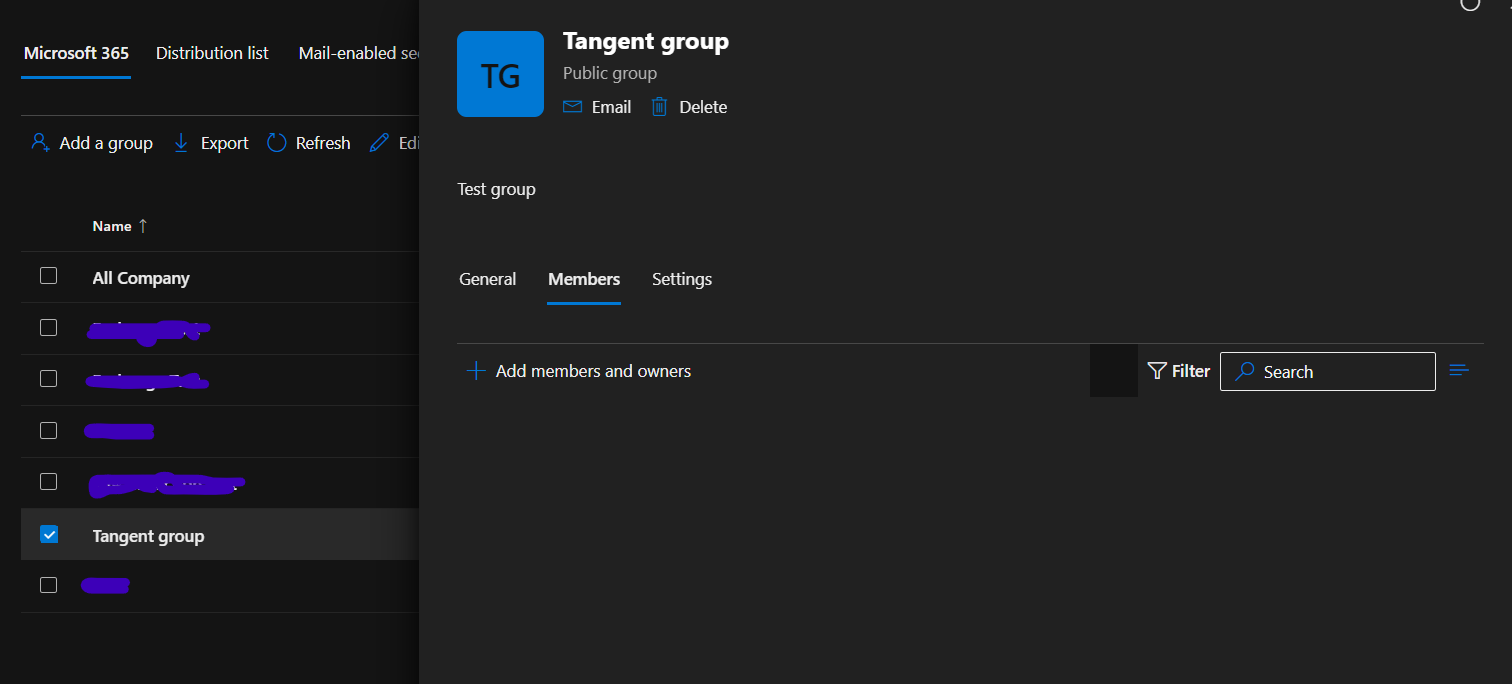
Creating New Office 365 group using PowerShell
Creating a new Office 365 group can also be done using PowerShell. Below are steps on how to create a Group using PowerShell:
STEPS:
This will create a new private group called "Tangent Group" with an email address of "Tangent@test.com
REQUIREMENTS
To create a Group in the Admin Center you must be either a Global Administrator or a User Administrator.
STEPS:
- Go to the Microsoft 365 Admin Center at http://admin.microsoft.com.
- Select Teams & groups > Add a group
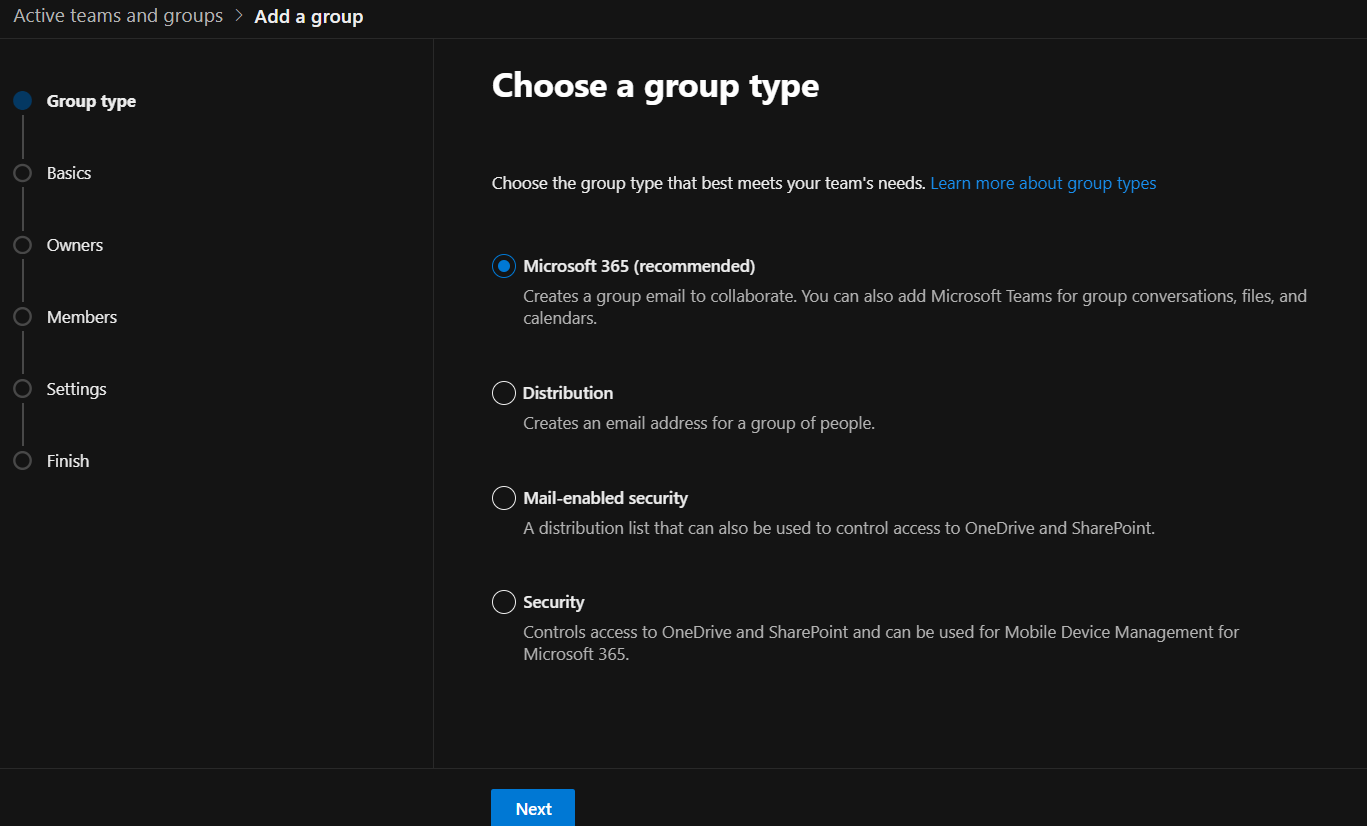
- Select the Group type you wish to create, and then click Next.
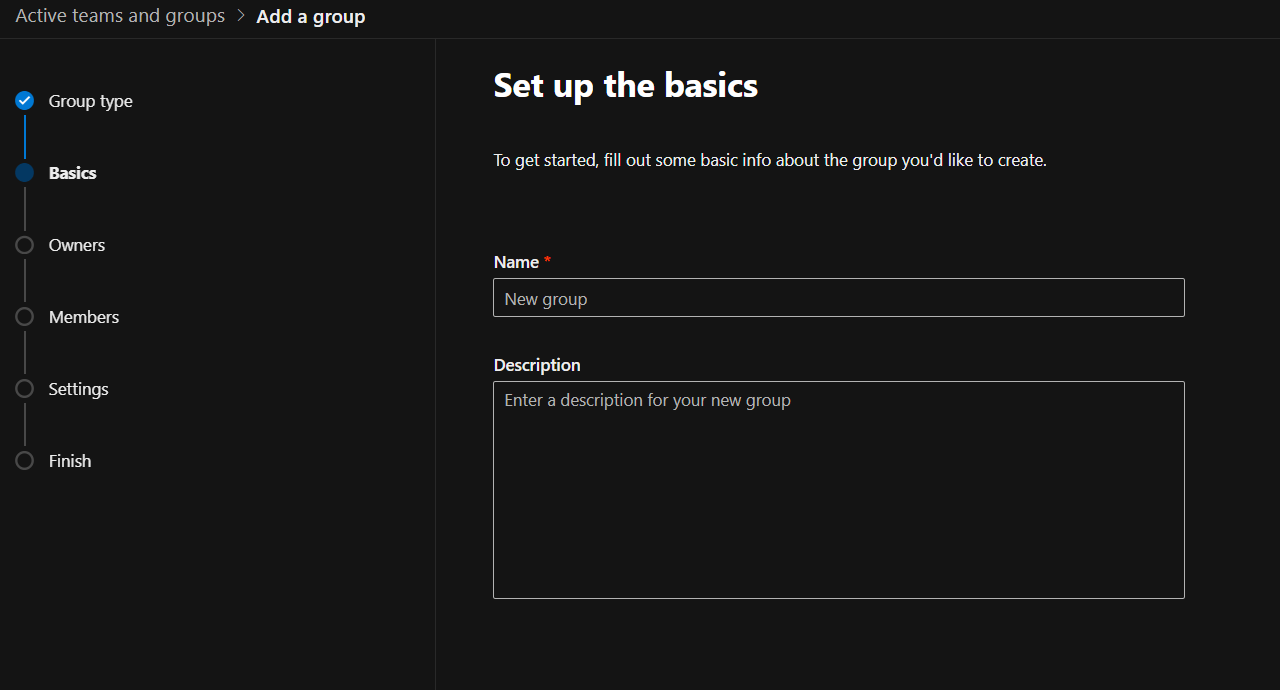
- In the Set up the basics sections, enter a group name and description, then click Next.
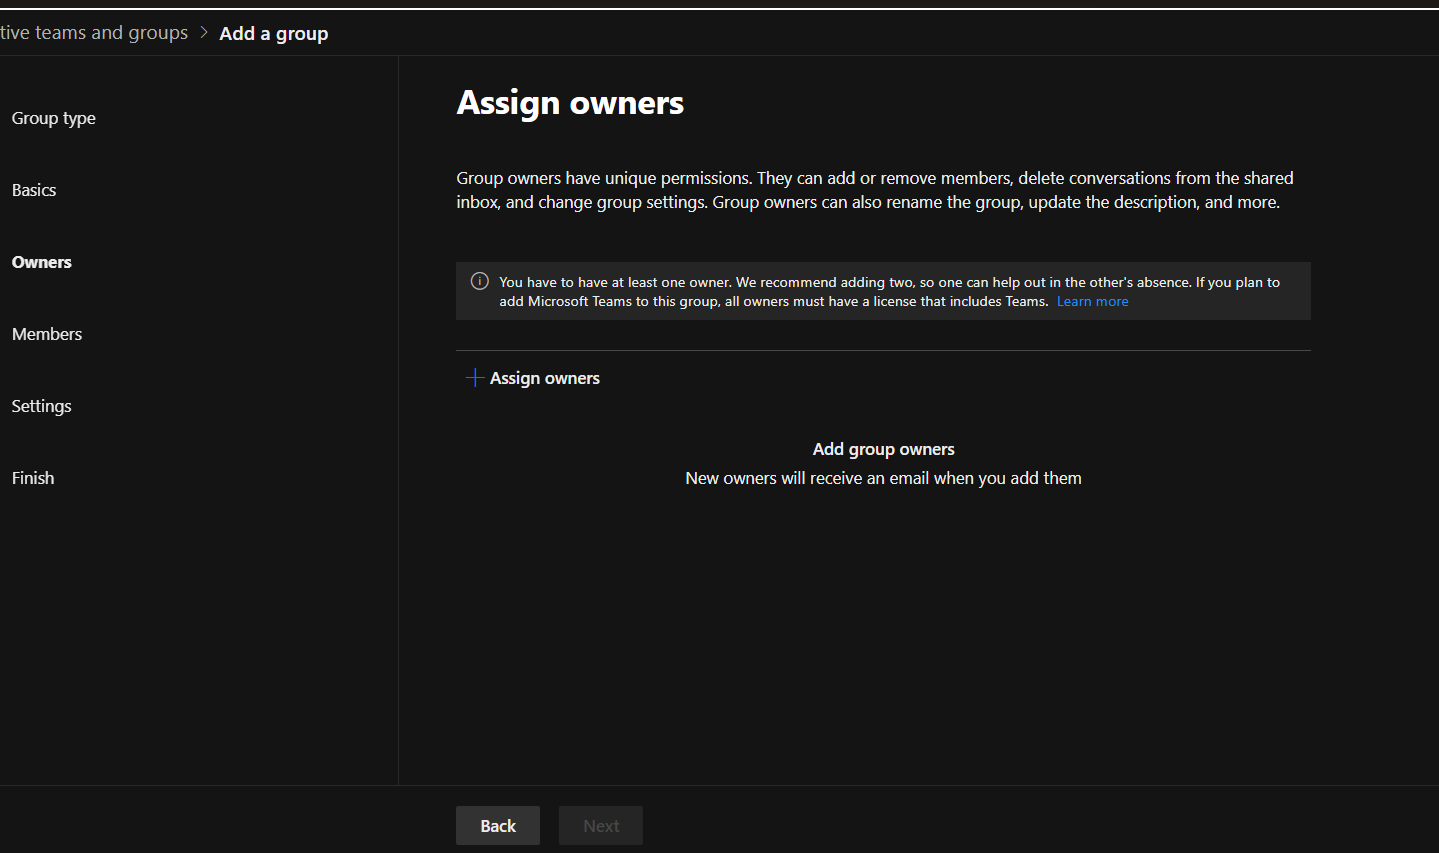
- Click Next to move to the Owners sections.
- In the Owner's box, you can select two users who will have ownership of the group. You can add members later when the Group is created.
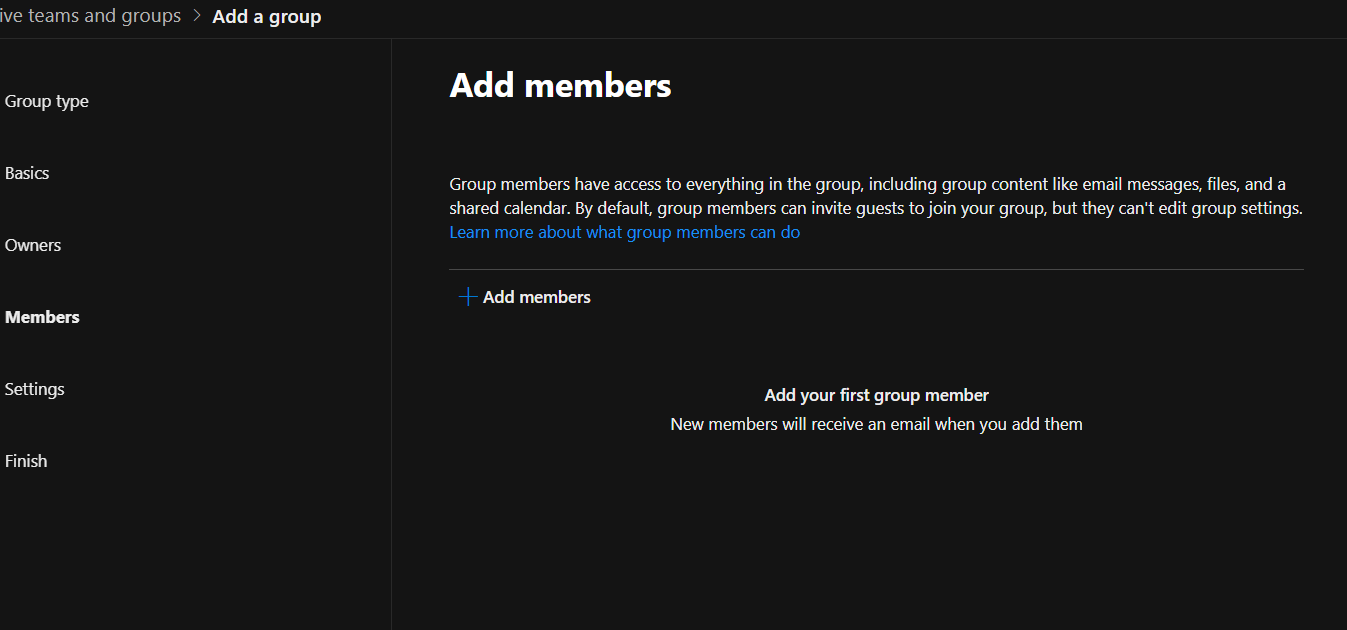
- Next you can assign Members to add to the group. You can add as many people as you would like. You can add more Members after the group is created.
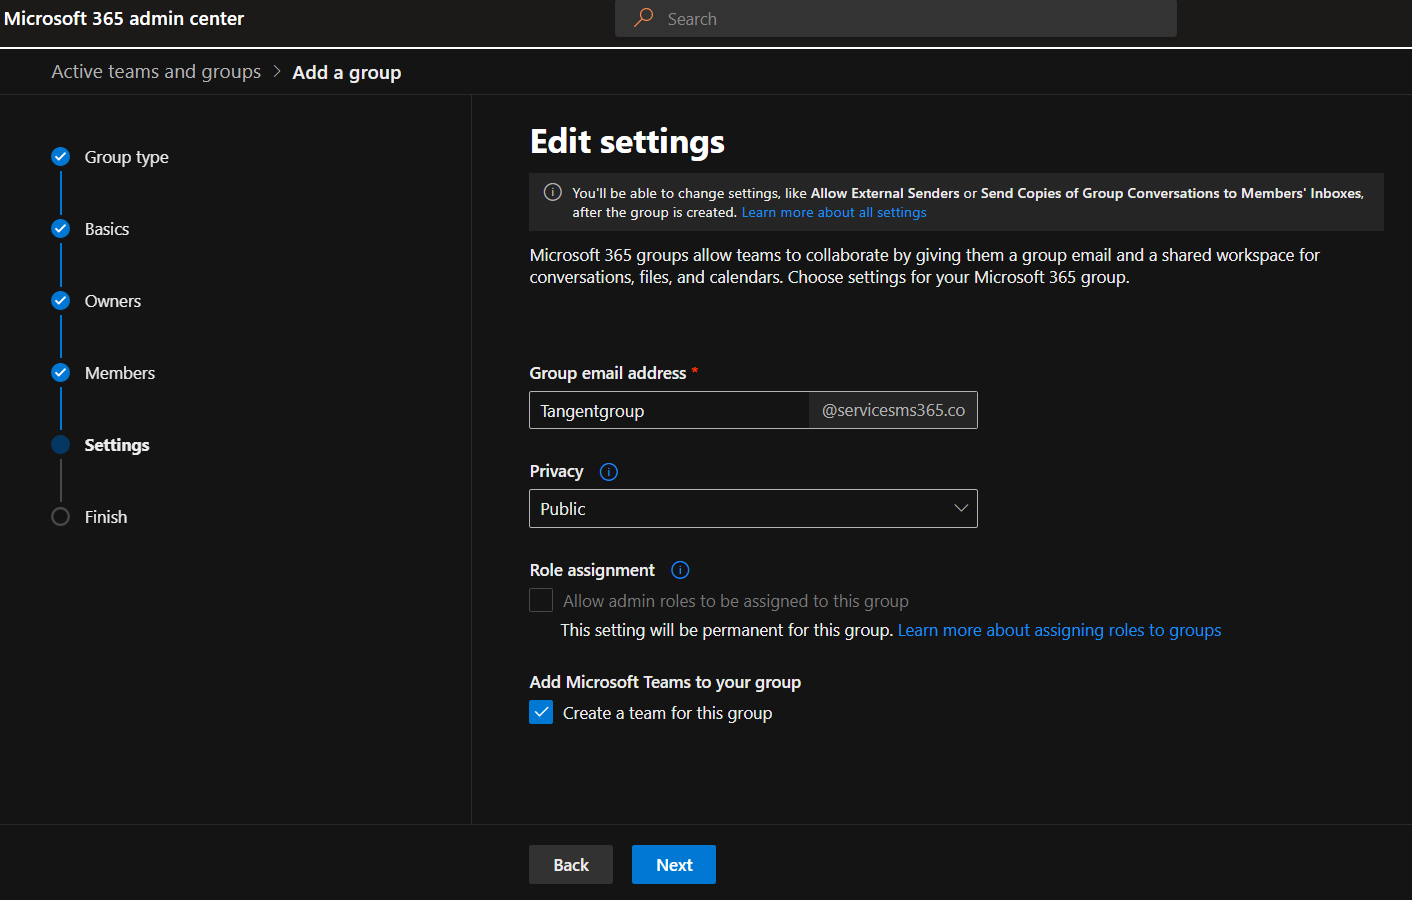
- From the Edit Settings page, assign the group a unique email address. Choose if you want the group to be public or private. Choose if you want the group to have a Microsoft Teams team.
- On the Review and finish adding group screens, review the group you are creating and click Create a group to complete the process.
After creating your group, you can assign users to the group as well as add new owners to the group. You can do this by following the steps below:
STEPS:
- Go to the Microsoft 365 Admin Center at http://admin.microsoft.com.
- Select Group and search for the group you want to add members or owners.
- Select the Group > Members
- Select Add members and owners and select the users you would like to add to the group.
Creating New Office 365 group using PowerShell
Creating a new Office 365 group can also be done using PowerShell. Below are steps on how to create a Group using PowerShell:
STEPS:
- Go to Start > PowerShell > Run as an Administrator.
- Run the following command if you haven't done so:
- Import-Module ExchangeOnlineManagement
- Next, run the following command to connect to your Exchange server:
- Connect-ExchangeOnline
- You will then be prompted to log in to your account. Please make sure to use an Administrator account.
- Run the following command to create the new Group.
- New-UnifiedGroup -DisplayName "Tangent Group" -Alias "TestGroup" -EmailAddresses "Tangent@test.com" -AccessType Private
This will create a new private group called "Tangent Group" with an email address of "Tangent@test.com